
Today we’re going to take a look at how to create your own loop slicing presets, so you can quickly tweak and manipulate them once you load them on a MIDI track.
First, we open a new Live project and create an empty MIDI track. Then, we load an empty Drum Rack from the ‘drums’ category on our content window. It’s important to make sure that we’re using an empty Drum Rack.
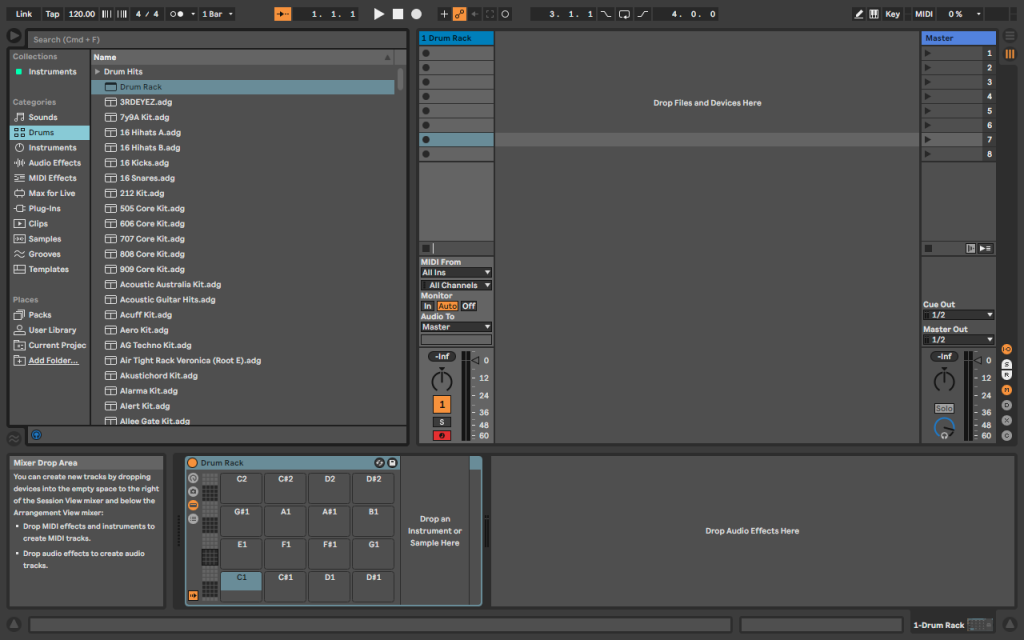
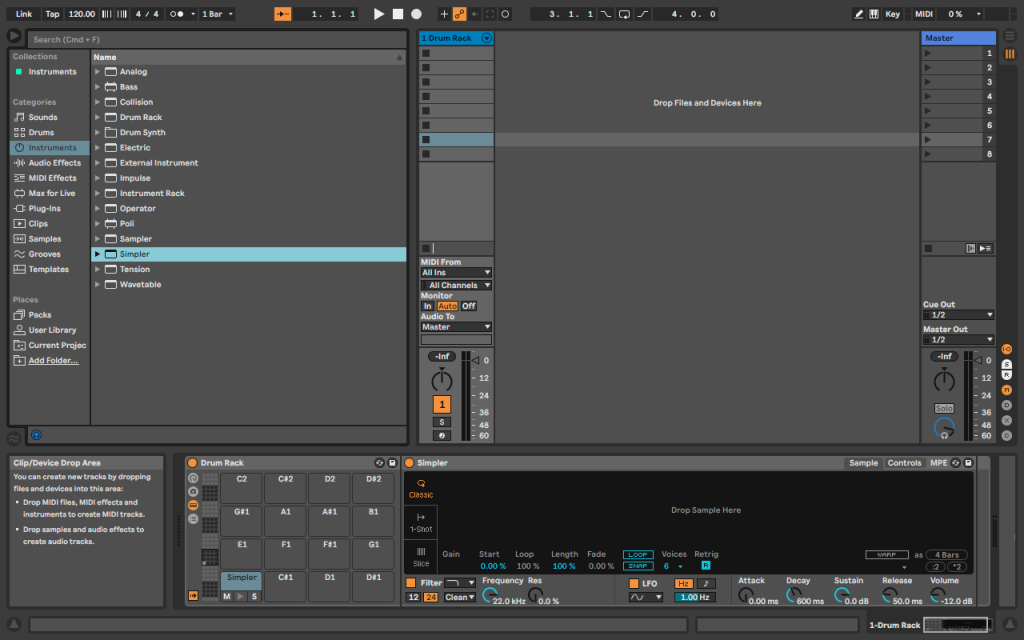
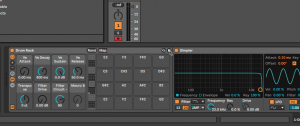
Next thing we’ll do is loading a ‘simpler’ on the C1 cell of our ‘Drum Rack’. We can grab it from the ‘Instruments’ folder in our content window. We will also make sure that the ‘Loop’ and ‘Snap’ buttons on the simpler are turned off.
Now it’s time to consider in what ways we want to manipulate and tweak the loops and samples that we’re going to slice with our preset, keeping in mind that the parameters we map to the macros will affect all the slices of our Drum Rack.
We can also think about whether we’d like to add any kind of audio effect to our preset so it’s loaded by default when we use this slicing preset.
For this one, we’re going to keep it simple, adding controls to tweak the envelope, the pitch and the simpler’s own filter drive control. We’ll also add another knob to select the kind of filter circuit we want to use with our drive knob.
Now we need to have access to the macros on our rack, so we press the ‘macro’ button on the top-left corner of Drum Rack so the related section shows up.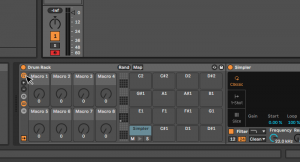
In order to start assigning parameters to our macros, we need to enter the mapping mode by clicking on the ‘map’ button on our Drum Rack. First, we’ll map the envelope controls. All we need to do is click on the ‘Attack’ knob and then click on the map button under the first macro knob. When we do this, we’ll see that the name of the Macro we have mapped is now changed to match the name of the corresponding parameter, which in this case is the attack. You’ll notice that it also keeps the value that we had on that particular parameter as default.
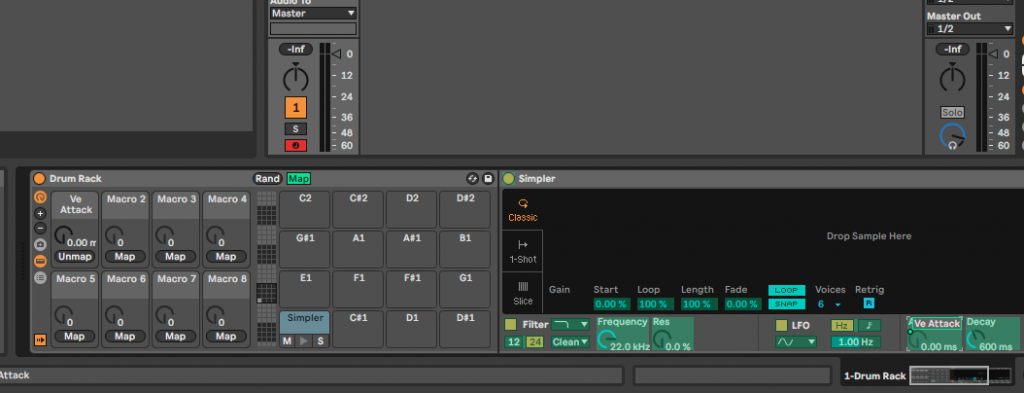
Next, we’ll do the same for the ‘Decay’, ‘Sustain’ and ‘Release’ knobs, assigning each one of them to macros 2, 3 and 4. Now we have our envelope controls mapped and ready to use.
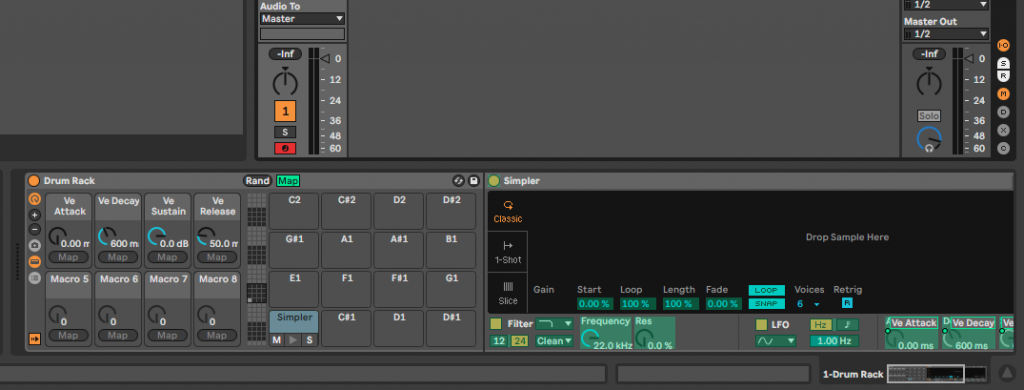
For pitch control, we need to go to the ‘controls’ tab on the top-right corner of our Simpler. Once inside, we have to look for the ‘transp’ parameter, then click on it and then again on the map button under Macro number 5 to assign it. For drive control, we first need to make sure that Simpler’s own filter is activated. Click on the ‘map’ button to exit mapping mode and then turn on the filter button. It should now show up in yellow. Pick any of the circuit types on the lower drop-down menu, since the ‘Clean’ type which is loaded by default doesn’t actually have a drive knob. Once we get this done, the Drive knob should show up next to the Resonance one, so we can go back to mapping mode – pressing the map button on Drum Rack – click on said Drive knob and assign it to Macro 6.
The last control we want to map is the same circuit type selector that we used on the previous step, so while in mapping mode, we can click on the drop-down menu and assign it to macro 7. Now we’ll be able to change the circuit type for our drive macro.
We finally have all the parameters we wanted assigned to 7 macros. We encourage you to experiment with different controls, such as the filter’s cutoff, the filter’s envelope, an LFO, or even any kind of audio effect that you want to add to the chain.
Also keep in mind that you can map more than one parameter to the same Macro knob, and on top of that, if you’re an Ableton 11 user, you can store up to 16 macros per rack instead of the maximum of 8 on the previous versions of the DAW.
It’s time to save this Rack in a way that Ableton Live recognises it, so we can use it the next time we want to slice a loop on a MIDI track. To do this, we need to press the save button on the top-right corner of Drum Rack – not on Simpler – and name our preset.
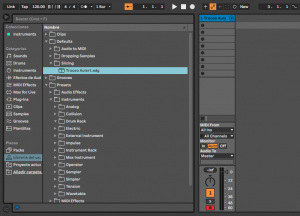
If we’ve done this right, we should be able to see how Ableton has created a Drum Rack instrument preset on the content window.
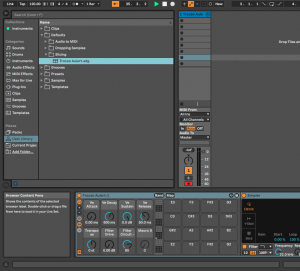
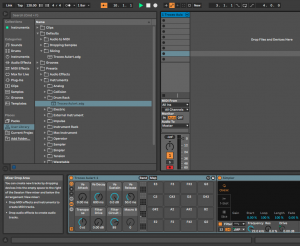
However, this is not what we need, since we want a loop slicing preset, so we need to click and drag the file to the Defaults/Slicing folder in that same window.
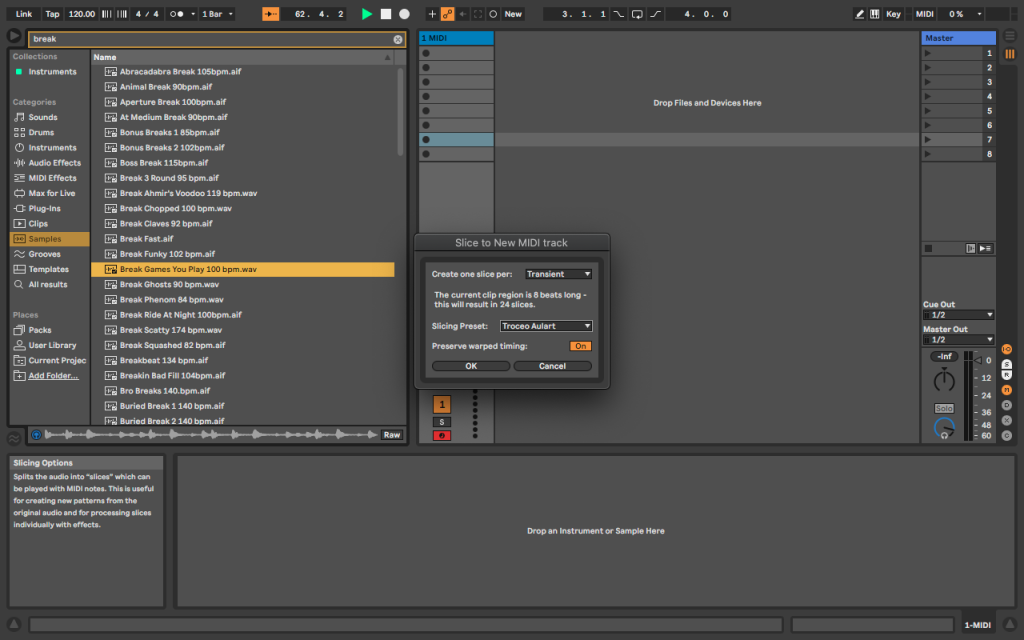
Now we can finally use our Slicing preset, we simply have to select it on the drop-down menu when we decide to slice a loop or sample into a new MIDI track, as you can see on the screenshot below.
Remember that this is only one out of the infinite number of options we have when slicing loops in MIDI tracks. Experiment with it and you’ll surely come up with different functions and effects to incorporate on your own preset to improve your workflow on Ableton live.


 50 Industry Music Production Tips You Must Know


