
By continuing, you accept Aulart’s Privacy Policy.
Masterclass Aulart Originals
Learn how to make your own audio devices in Ableton
Advance your Max for Live skills to confidently create and customize the sounds you want
Learn step-by-step with an audio engineer as you open up a world of musical possibilities
Max for Live Masterclass

Get the most out of Max for Live
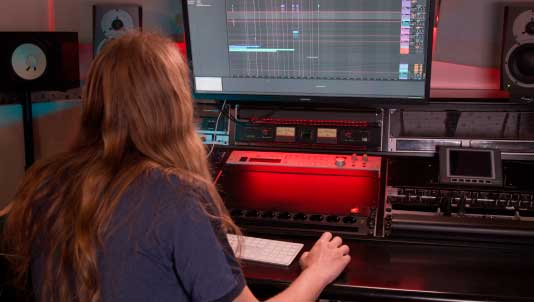
Max for Live is an incredible addition to any producer’s toolkit. Gain a deep understanding of Max for Live with easy to follow lessons to take your sound design to the next level — access weird and wonderful effects, get experimental, and try something different with your music.
From beginner to advanced
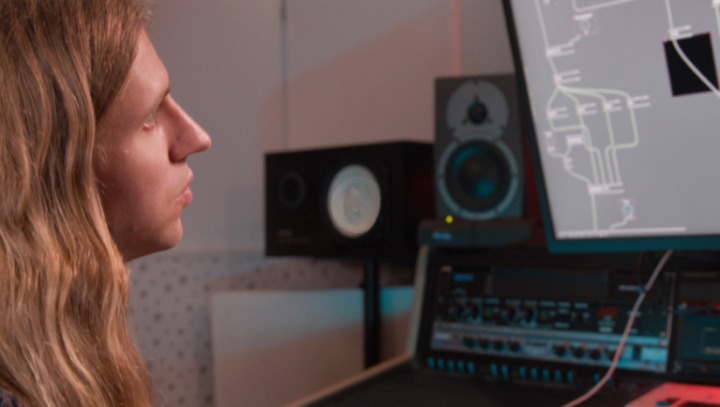
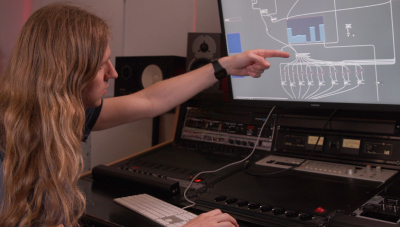
Grasp what Max means as a visual audio programming language from its foundations. Understand its interface and layout, learn the objects and components you need to start out, and dig into some complex design patches to become a Max for Live creator.
Build your own synths and effects
Learn how to explore any of Live’s Max devices, understand how they’re built, change them to fit your needs, and build your own from scratch. Follow your instructor step by step and learn how to create your own delay, sequencer and a mono synth. Learn how to create your own plugins and make your music stand out.

Access a Free Chapter
Leave your email, and you’ll be granted access to select a free chapter of your choice.
By continuing, you accept Aulart’s Privacy Policy.
What will I learn?
Moving Around Max For Live
A brief introduction summing up the course content and giving you an overview of what you will learn.
Learn about the history of Max for Live and where it came from. You’ll hear about developer Miller Smith Puckette, the origins of Max and its incorporation into Ableton, Max Matthews, Cycling 74.
How to understand Max for Live as a visual audio programming language to make your own tools, starting out with some of the basic components like buttons, objects and message boxes, and also taking a look at the layout for Max for Live.
Dive deeper into Max for Live and get an overview of what the given layout is, different subgrouping, what is the common signal flow patterns for Max for Live.
In this chapter, Spencer shows how to use comments, number boxes, messages and bangs to start building a signal flow, how to control these parameters and how to start making changes to your patch.
Explore the techniques to enhance your signal flow and incorporate additional operators. Learn how to expand on the objects you previously worked with, delve into triggers, discover diverse variations utilizing bangs, uncover the possibilities of the cycle object, and create a basic additive synth. Safely monitor your progress with scopes and gain objects.
Making a Delay with Max for Live
Module overview and introduction, where you will get a detailed understanding of what you’ll be learning. From the basic concepts to advancing towards building a more complex delay, explore the topics covered in this module.
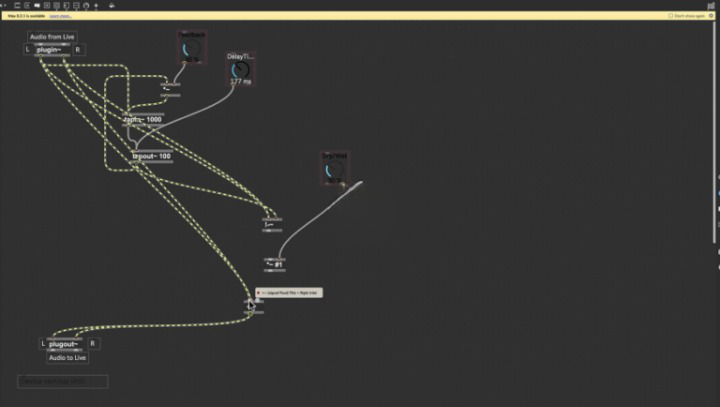
Learn the process of creating a basic delay effect in Ableton Live. Begin by examining some of the pre-existing devices in Ableton that can serve as references when developing your own Max delay. Then, follow along with Spencer as he guides you step-by-step in building your own custom delay effect.
Spencer shows you how to do that as well as how to add in a dry/wet equal energy parameter so you can have a ratio versus two different live dot dials, to just get one dial.
Discover the techniques for creating a volume control fader and dial, as well as incorporating a simple filter. Gain insight into the process of designing and implementing these elements into your audio setup.

Learn the core parts of making a ping pong delay: see how to separate the delay into two channels: one channel for the left and one for the right to simulate a ping pong delay.
How to improve the UI design: see how to add a background, improve the look and feel of the knobs and then add your own custom logo. You’ll also adjust the ping-pong delay to improve it slightly.
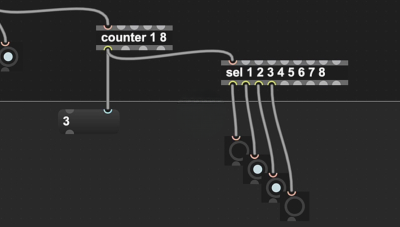
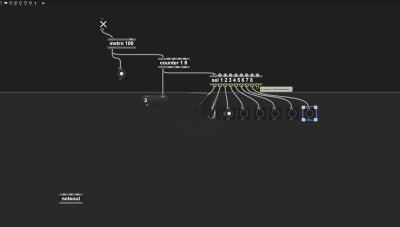
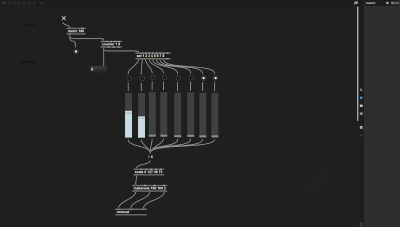
Making a Sequencer with Max for Live
Module overview: In this module, you’ll take a look at what a sequencer is, learn more about the inherent sequencers in Ableton, and focus on making your own sequencer.

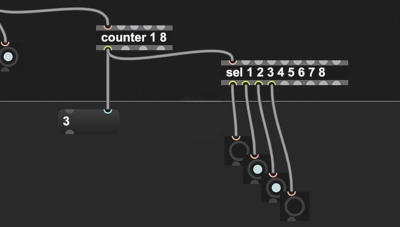
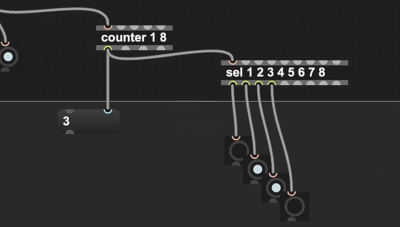
Take a look at some of the sequencers in Ableton, grasp the fundamental components of a step sequencer, and take a look at the counter object, the selector and the metro.

How to adjust the pitches on the step sequencer with the slider.
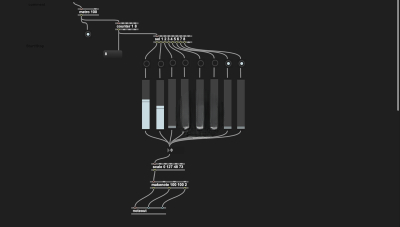
Learn how to modify the timing on the metro object, see how to connect the transport divisions for BPM’s, and translate that to your sequencer. Look at hiding those objects, and putting them out on a UI to modulate the timing and have a more aesthetically pleasing UI.

Looked at how to turn off and on notes on the Live dot toggle, how to add the panels and add to the UI view, organize individual slides into one multi-slider. Also how to separate the message of the ON and OFF notes
This section goes through how to make changes in the sequence you’ve already decided.

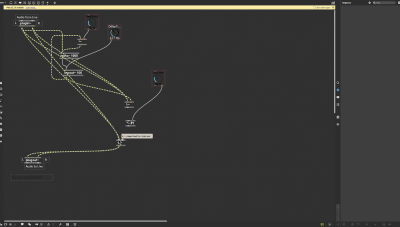
Making a Mono Synth
In this module, you will delve into the creation of a basic monophonic subtractive synthesizer. You will explore the utilization of the Cycle object within the ddg.mono object as the fundamental building block. Additionally, you will learn how to incorporate more advanced components such as filters and envelopes to enhance the complexity of your synthesizer.
Take a look at the basics and learn what the mono synth needs in terms of objects, learn how to check those objects along the way with different message boxes and sliders.
Take a look at how to use the ADSR and the cycle objects, how to control the note ON and OFF information with them, and how to monitor those messages at the same time.

Learn how to add an envelope to your synthesizer, so when you hit a button it will turn ON and OFF.

Learn how to improve the audio output, and make it more aesthetically pleasing with a state variable filter, and improve the scaling with the multiplier tool to prevent clipping the audio path.
How to implement legato, portamento and how to change the signals from cycle to rectangle, triangle and saw waves on your base synth.

See how to advance the UI components, organize and put in some panels and add sliders, learn how to eliminate possible zipper effects and artifacts when making big changes to your parameters. Also, you’ll learn how to change the type of sign wave to square wave and display it on the menu.
Spencer shows how to change the views of the sliders using a pic-control slider and how to adjust them with your own custom graphics.
A wrap-up of the Masterclass and some final words and advice from your instructor Spencer Ward on how to continue with Max for Live.
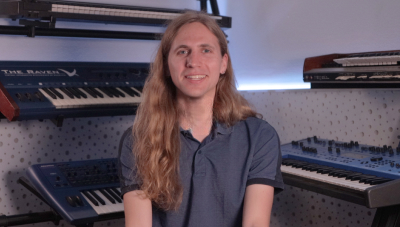
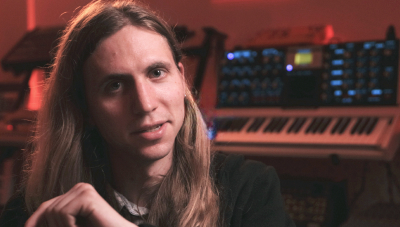
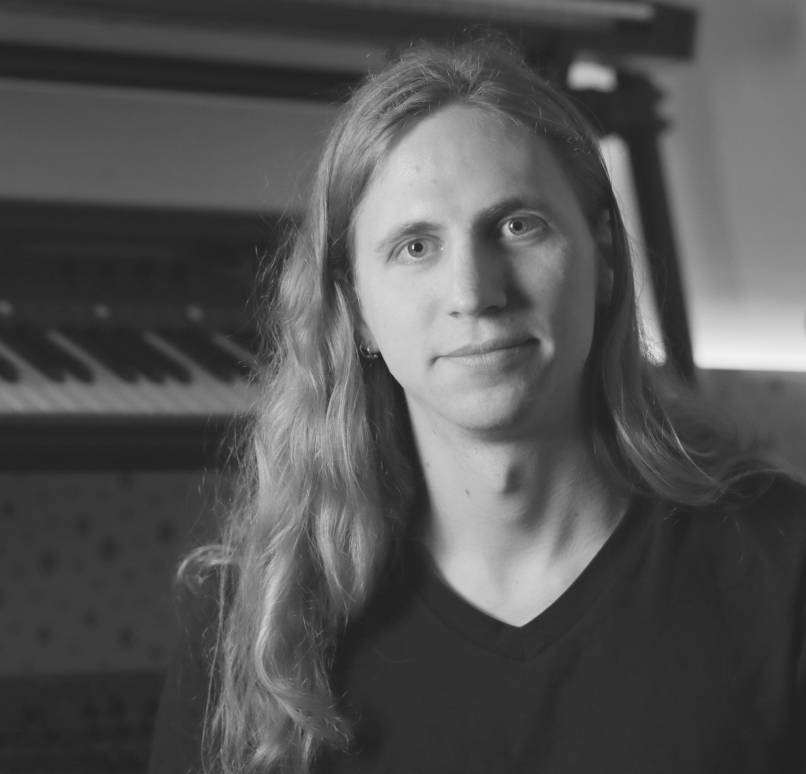
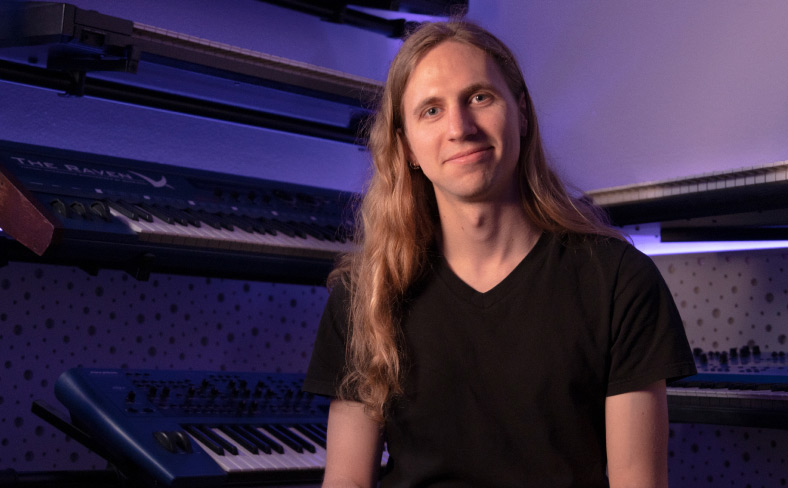
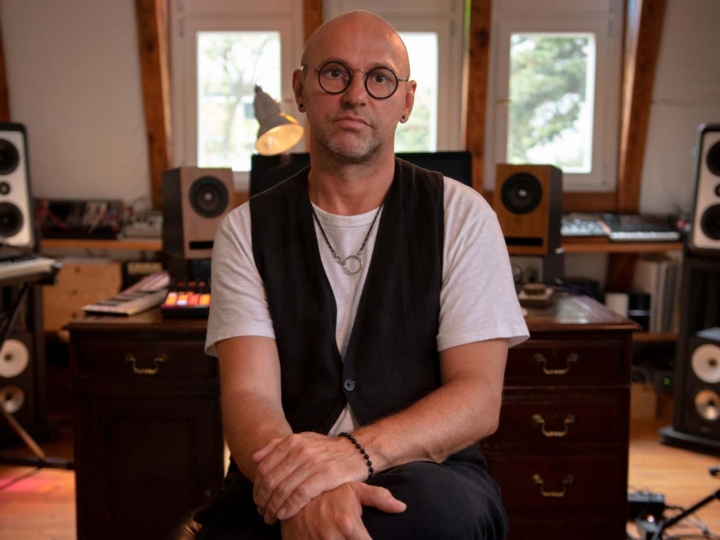
Spencer Ward
Audio engineer
Over the past 15 years audio engineer Spencer Ward has worked with a plethora of audio mediums and artists — he’s been the main audio location recording engineer for Bon Appetit and other Condé Nast brands, and has worked with artists like Cardi B, Kevin Bacon, Idris Elba, Michelle Wolf, Tiffany Haddish, and Matthew Mcconaughey.
Software developer
Apart from his extensive work in sound design, Ward is an experienced audio technologist who’s developing the next generation of software and hardware audio tools for other engineers and composers like himself.
Instructor & educator
From inside audio hardware circuits to broadway shows, music studios, stadiums, and professional kitchens, working as front of house engineer, location audio engineer, audio software developer, mixing and mastering engineer, acoustician, and sound designer — Spencer Ward has done it all and is now passing on his knowledge to help budding producers, audio engineers, and artists like you.
Max for Live Fundamentals
- 27 Chapters
- Subtitles : Spanish, English, German, French & Portuguese
- 6h
- English
- Lifetime access
- 4K Video
- Ableton Live

Flexible payments available
Max For Live Performance Bundle


Create Account